Quite often when I am cutting out a garment, I simply "weigh" the pattern down instead of using pins. Unless I am dealing with tricky fabric, I often just trace the outline of the pattern piece, note important marks and notches, then cut it out. What I had been using for weights is some kind of chunk of metal wrapped in tape...effective, but rather unsightly.
I decided to make some that would be more attractive sitting here in my new workspace.
I began by making some simple little sand bags. I could have just stopped there...they are not very pretty but certainly more neat and tidy than what I had been using. (I did not concern myself with the colour or neatness of the whip stitches closing these up as I planned on making little covers for each of them anyway.)
I always like to have some small hand stitching projects ready...AND am in "
use up stuff" mode...so , of course I went a step further
I cut out some squares of wool, added some circles (or pennies as they are called)
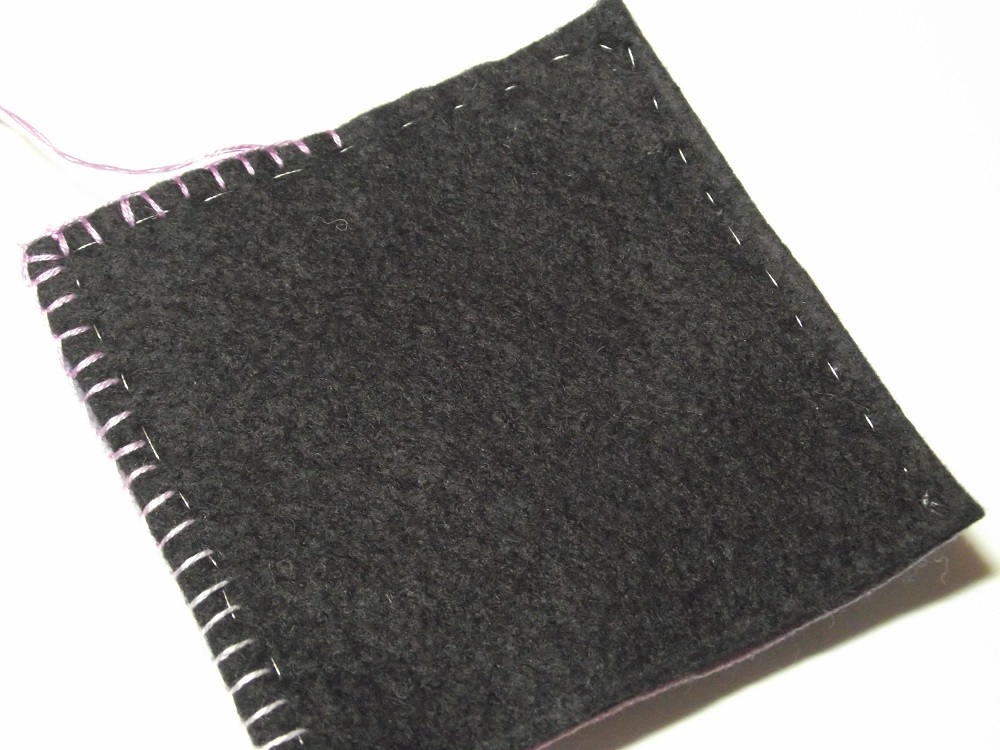
Once each one was embellished with thread, (some hand dyed by me) beads, buttons and jewelry findings, it was time to add a back. I used water soluble thread to do a quick running stitch on 3 sides leaving a "pocket" this made doing the blanket stitch edge much easier as everything was held firmly in place with no need for pins.
when my blanket stitching covered 3 sides, I slipped in one of the sand bags, then continued with the blanket stitch to close the last side. With the pretty cover complete, I simply ran a wet finger over the edges to dissolve the water soluble thread
here they are...all dressed up and ready for work.