Whoa!....... I have not posted here in nearly a year...how the heck did that happen?!!
It is not that I haven't been creating, I suppose it is just that I have not spent as much time documenting my process as I used to. But I do have some photos to share that will give you an idea of what has consuming my creative time these days.
In my last few posts I talked about my journey into spinning.....at that point I was using spindles to spin yarn but that all changed last summer when I had the opportunity to acquire my very own spinning wheel.
Those of you who have followed me for years know that I LOVE a challenge. My wheel was new....but here is the thing....it left the factory in 1985 exactly how I got it....in pieces, in a box, in need of sanding, finishing and assembly....so the brand new wheel I put together in 2019 was actually 34 years old....how cool is that?!
here it is assembled and working wonderfully
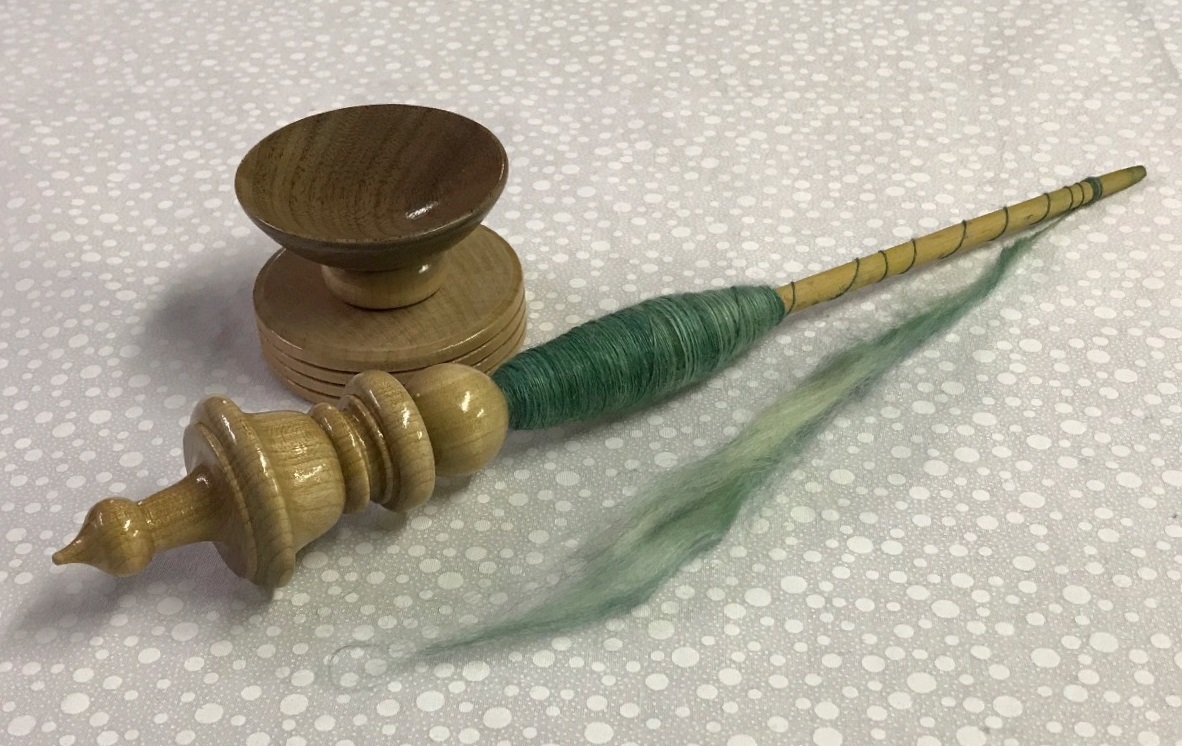
In July, I was gifted this vintage Book Charkha which is a fascinating device with such an interesting history.
You likely also know that I kinda like to try to build my own tools when I can. Because I have a nice supply of raw fleece to process, I was interested in getting some wool combs for prepping fibre that I could spin on the spinning wheel....but holy cow they are very expensive and while I am sure they are worth the cost I was not prepared to spend a lot of $$$ until I could see if it was something I would enjoy doing regularly......so I set out to make my own.
I found some onions holders on a clearance rack which was great cause if the experiment did not work, I wouldn't be out much.....Bonus!
I cut the plastic handles off, used some very strong double sided tape to hold them together slightly offset. I used a "found" hardwood shelf to cut into a couple of blocks of wood that the "tines" would be placed into. I borrowed my son's Dremel tool to hollow out a cavity in those blocks. that was a little labour intensive but remember....I do like a challenge.
Once the cavity was clean and smooth I filled it with the onion holders, sawdust and wood glue. handles were made very simply with doweling. (if I ever do this again I will do something different as this is not the most ergonomic on the hands)
in the image below you can see the raw fleece locks on the left and the combed fibre on the right
These combs may not be pretty but they are holding up to the rigors of combing and actually work quite well.
My latest obsession is a result of this book I got a couple of weeks ago. It is Arne and Carlos Field Guide to Knitted Birds. oh my.....the book is gorgeous and these little birds are just way too much fun to knit and a wonderful way to use small bits of my hand spun yarn ( all but the black one in the photo have been knitted with yarn I processed, dyed and spun.)
I will try not to let so much time pass before my next post....but you can always find me on Instagram
just click the Instagram icon in the upper right corner of this blog.
Showing posts with label DIY. Show all posts
Thursday, February 6, 2020
Monday, December 31, 2018
DIY Support Spindle
I first began spinning in July of 2017. (that post can be found here) I began with a homemade drop spindle and while I have tried a variety of fibres, I had not yet explored a different type of spindle. I was curious about the difference between spinning with a drop spindle (where the spindle is spinning suspended in the air) and spinning supported. ( a support spindle, is as its name implies, spins "supported" generally in some type of bowl)
why had I not tried one? well I did not have one. There are many gorgeous spindles available online, but of course, by the time one adds shipping and currency exchange they can get a little pricey....what if I find I don't like spinning this way.....would be a bit of a waste. So I decided to try making my own.
I gathered a few things from the hardware store and because I wanted a tapered shaft I used an old paintbrush instead of a dowel.
I chose this finial because it had a very nice point that I thought would "spin" well. I cut the ferrule/brush part away leaving just the wooden handle. My plan was for the wooden bead and wood glue to allow the finial and shaft to connect and bond together. I also made some with extra weight by adding a washer. and of course, played with adding colour to the wood as well.
To make the support bowl, I picked up a Danish drawer pull that has a very nice concave form. I wanted the "bowl" to have a flat base so a couple of small wooden toy wheels completed the assembly.
I gave everything several coats of varnish with some sanding in between to give the spindle a lovely sheen and very smooth feel.
These may not spin as long as some of the professionally wood turned beauties, but they work quite well and are allowing me to learn how to spin supported.
I am really enjoying spinning this way as it is even more portable than a drop spindle. Rather than having my arm up and out as I need to with the drop spindle, I can spin seated with the bowl in my lap.....everything is close to the body.....meaning I can spin for longer periods of time and just about anywhere I like.
why had I not tried one? well I did not have one. There are many gorgeous spindles available online, but of course, by the time one adds shipping and currency exchange they can get a little pricey....what if I find I don't like spinning this way.....would be a bit of a waste. So I decided to try making my own.
I gathered a few things from the hardware store and because I wanted a tapered shaft I used an old paintbrush instead of a dowel.
To make the support bowl, I picked up a Danish drawer pull that has a very nice concave form. I wanted the "bowl" to have a flat base so a couple of small wooden toy wheels completed the assembly.
I gave everything several coats of varnish with some sanding in between to give the spindle a lovely sheen and very smooth feel.
These may not spin as long as some of the professionally wood turned beauties, but they work quite well and are allowing me to learn how to spin supported.
I am really enjoying spinning this way as it is even more portable than a drop spindle. Rather than having my arm up and out as I need to with the drop spindle, I can spin seated with the bowl in my lap.....everything is close to the body.....meaning I can spin for longer periods of time and just about anywhere I like.
Labels:
DIY,
drop spindle,
spinning,
spinning tools,
support spindle
Subscribe to:
Posts (Atom)
Copyright Jill Buckley