Showing posts with label Wool. Show all posts

Wednesday, March 13, 2019

Another Stash Busting Project

Okay, first of all let me clarify......it was someone else's stash...and I had help (thank you Susan). A few years back, a good friend showed me some wool fabric she was planning to rid herself of. She had been a rug hooker for many years but had pretty much given up that hobby for several others, so of course, I could not resist these beautiful hand dyed wools and said that perhaps I could do something with it. Well...guess what...it came to my house only to sit on a shelf until I finally decided I had to use it or move it on.
The challenge was that because it was a rug hookers stash, it was not "yardage", it was pieces/strips. But it was beautiful quality in a gloriously rich, wide, range of colours. I decided to make a wool throw.....something just right for draping over oneself while knitting, watching TV, reading or maybe even a little lazy afternoon snooze.

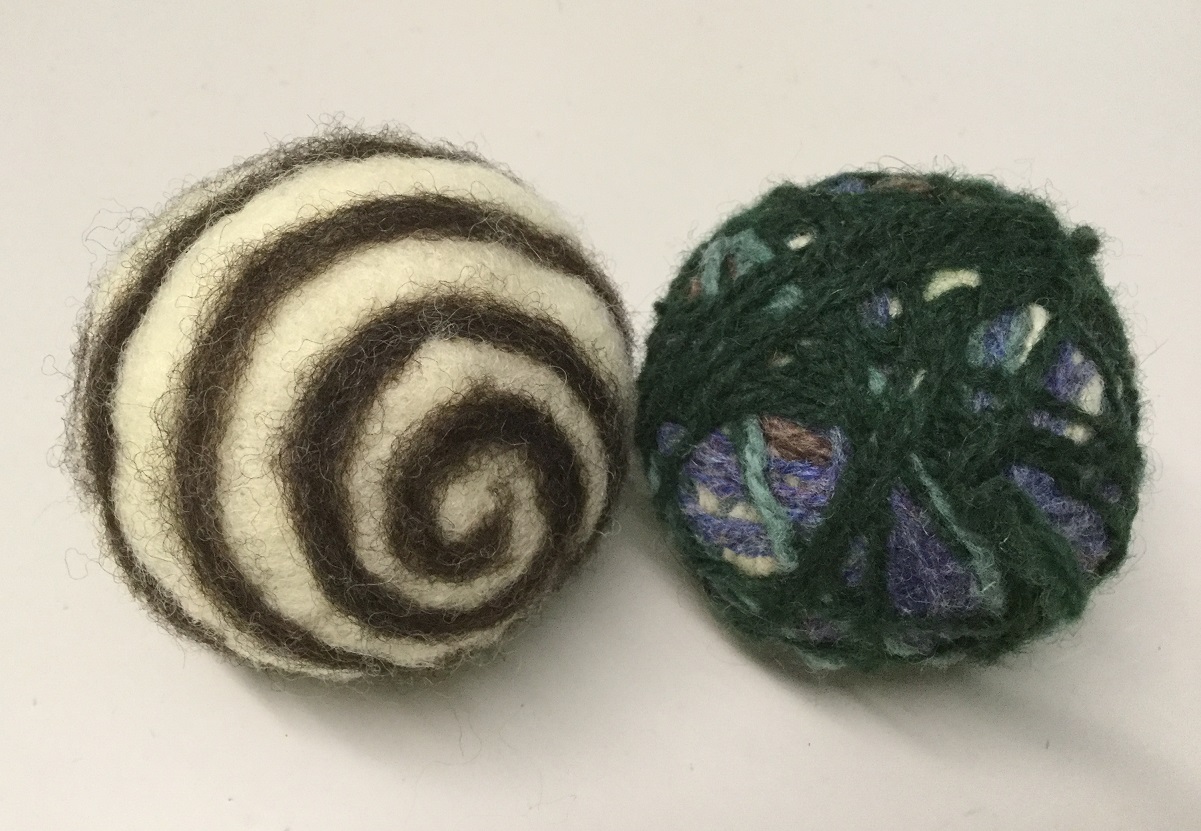
This is where Susan came in, I had way too much and needed help using this stuff up. We split the stash...I took predominantly blues and greens...Susan, reds and oranges. We also used some thrift shop finds to supplement....a kilt, a man's suit and a few other pieces were disassembled and in some cases dyed to give us exactly the extras we needed. (for some reason I don't have any of the greens pictured here)  the pile on the right was the result of some dye experiments.


I created a conceptual diagram of the sort of thing we were trying to achieve and we were off.


The next step was to make sure everything was cleanly trimmed (the trimmed bits looked too pretty to toss away.)


and to sort the pieces by size....some were as much as 11" long, others closer to 4". then we just played laying them out to make workable rows.


We decided that we would sew them together in an unconventional way.....so that we would not be dealing with tons of seams, my reasoning for this was that I knew I wanted to do big stitch quilting at the end. I think Susan was more clever and took hers to a long-armer  ( I will explain shortly)


Once we each had a pleasing layout, the pieces were simply machine stitched by butting the raw edges up to each other and using a triple zig zag which was such a pleasant sewing process.  Long vertical rows were created, then each row was attached to the next in the same manner


While I stayed very much in a subdued colour scheme, Susan on the other hand, added some brilliant, unexpected pops of colour to hers.


Susan and I each used a thin batting and found some nice Robert Kaufman flannel for our backings


A piece of soap served to mark the concentric circles which I would hand stitch using 12wt Aurifil cotton. The flannel for the back was only 45" wide....it needed to be pieced to get the required width, Susan pieced hers entirely with the flannel


...I chose to add a row of the same wool pieces used on the front to create my pieced back


These throws finished at 60" x 50" and are super cosy


the texture added by the machine quilting is fabulous!


I used striped cotton leftovers from the backing of a previous quilt for my binding.....Susan pieced wool to create her binding


I LOVE that Susan kept the labels in place from one of the up-cycled clothing pieces


Now.......time ( and use ) will tell if not having sewn traditional seams will have been a poor decision.....I must admit that I am a little concerned about how much stress the joins will endure over time. I think Susan was wise to have her quilt machine quilted as I think that will help its sturdiness and durability.

But, I have been using mine every evening for several weeks and it is not showing signs of any problems yet....."yet" being a key word.  I may go back and add more stitching to mine just the same.

oh....and btw......we were not completely successful at "stashbusting"  LOL! 


Thursday, December 6, 2018

Dryer Balls

I have been hearing about the use of dryer balls more and more lately and decided to try making a few to see how well they actually work.
If for some unknown reason you have not heard of these, they are suppose to replace the use of dryer sheets, reduce static cling, provide more airflow around your garments in the dryer which should result in less drying time.  Clearly lots of benefits
Of course, a quick Google or You Tube search will yield many tutorials on how to make them. I tried a couple of things, this is what worked best for me.

I started gathering up my supplies, I had a large 100% wool thrift store sweater that was destined to be ripped apart (that would be my core) note...it MUST be wool....it needs to "felt" so acrylic will not work. I pulled together random bits of wool fibre (batt and rovings) that would become the outer crust. In addition, I dug out my rarely used needle felting tool, a pair of pantyhose and I was ready to go. (the needle felting tool is not essential, but since I already had one, it did make the process very easy

First, I began deconstructing the sweater and created tightly wound, firm, tennis sized balls.


next I began layering fiber over the wound yarn and used my needle felting tool to help secure it in place, I encased the wound balls with several layers.....then I started to play.


Because...who wants plain old boring balls? I used some contrasting fibre to add interesting pattern


once I was satisfied with the size and density of each ball they were placed into one leg of some pantyhose.....it was stretched and tightly tied between each of them as they were added, if you look close you can see the knots.


then it was  a trip to the washer with HOT water and soap. They all felted well and were able to then head for a spin in the dryer to finish the process after which they were released from the pantyhose, ready for regular use.


I have done several loads of laundry since making these and am finding that they do in fact work very well.     If you are wondering, I have been using 3 - 4 at a time per load


Monday, July 2, 2018

Pattern weights

Quite often when I am cutting out a garment, I simply "weigh" the pattern down instead of using pins. Unless I am dealing with tricky fabric, I often just trace the outline of the pattern piece, note important marks and notches, then cut it out. What I had been using for weights is some kind of chunk of metal wrapped in tape...effective, but rather unsightly.
I decided to make some that would be more attractive sitting here in my new workspace.

I began by making some simple little sand bags. I could have just stopped there...they are not very pretty but certainly more neat and tidy than what I had been using.  (I did not concern myself with the colour or neatness of the whip stitches closing these up as I planned on making little covers for each of them anyway.)


I always like to have some small hand stitching projects ready...AND am in "use up stuff" mode...so , of course I went a step further
I cut out some squares of wool, added some circles (or pennies as they are called)


Once each one was embellished with thread, (some hand dyed by me) beads, buttons and jewelry findings, it was time to add a back. I used water soluble thread to do a quick running stitch on 3 sides leaving a "pocket" this made doing the blanket stitch edge much easier as everything was held firmly in place with no need for pins.


when my blanket stitching covered 3 sides, I slipped in one of the sand bags, then continued with the blanket stitch to close the last side. With the pretty cover complete, I simply ran a wet finger over the edges to dissolve the water soluble thread


here they are...all dressed up and ready for work.


Monday, April 13, 2015

Doodling and Stitching

Sometimes I use a pen to doodle...and sometimes I use thread. Making simple lines and dots with thread through wool is just as relaxing as doodling on paper.
This is a small piece I did a while ago......I think it started as a test of the visual impact my hand dyed thread would give.


Recently, I decided to make some cards and thought this "look" would be perfect for creating many small one of a kind pieces

In an earlier post I showed the beginning of this project

 
Each little stitched section measures 2 inches square, once cut apart, each of them was then stitched onto a piece wool that had been given added texture with free motion quilting


those units were finally stitched on to some purchased blank cards


A closer look at the detail


Sunday, March 29, 2015

Thread doodles

While I have been very active creatively, it would seem that I have been rather unmotivated to take photos and do much "posting" lately
I thought I might try to correct that today...so I just took this photo of a small project I am working on (in between others)
My own hand dyed (snow dyed actually) thread is being randomly stitched onto a piece of felted wool. The colours of this 1 skein of variegated thread, wander from palest blue to indigo to a fun apple green, I am enjoying the effect that is happening.  Like doodling....letting it flow and simply making decisions as I go along. ....each "square" will eventually be separated...for now I have partitioned off some segments giving me small "frames" to work within so that I will end up with lots of different stitched pieces (each square will finish at 2 x 2 inches)


Relaxing and meditative....Yes!.....but I do have a plan for them as well, interested?.....you will just have to check back later to see what these tiny stitchery(s) will become

See what others are stitching.....I am linking up to Kathy's Quilts   Slow Sunday Stitching  here


Friday, July 18, 2014

Lazy Summer

I can't believe I have let a month go by without posting.....even though I have engaged in creative endeavours, it would appear that I have become quite lax about documenting and photographing much of it. Below are a few things I have been up to.

Did you know that it is possible to "felt" stones?  I came across some felted stones while visiting a small gallery and was immediately fascinated. They look so soft but then you pick them up and are surprised by the weight. I knew I had to dig out my wool roving and give it a try.  A quick check on the Internet led to all sorts of tutorials. These were fun to do, and of course, I was compelled to add a few stitches as well. 


A friend asked if I would consider painting a milk can. I said sure, why not.....well.... painting a big rounded metal object was certainly an interesting challenge. My first (and likely last) attempt  LOL!

The can arrived a little dented but a brilliant red colour
The owner is quite happy with the end result

And what would a lovely, bright, sunshiny summer be without a bit of sun-printing. I used lots of tiny pins to hold the fern leaves down, which helped with getting fairly clear images

leaves on top of paint soaked cotton.....just add SUNSHINE!

The resulting print


Monday, January 20, 2014

Embellished Wool Applique

Do you recall this little quilt?


At the time that I showed it, I don't think I explained that it was a sample for a workshop I was asked to conduct. I don't generally accept invitations to lecture or teach but this was for my former guild, so I just could not turn them down.

The workshop was held on Saturday, it was well attended and well received. The ladies arrived prepared and ready to enjoy the day. They brought their supplies, were eager to jump right in. I really did not have to do all that much...I demonstrated a few stitches, gave suggestions for the variety of ways they could be used and they did the rest.

I was SO incredibly impressed with what I was seeing emerging as the day went on. Each and every one did a fantastic job, their imaginations were humming and you could see it in the fabulous pieces that were being created.....they were not simply "copying" the sample, they were each going in their own unique direction, adding beads, using wonderful, unexpected colour and stitch combinations....it was just so cool to observe.


you can see another post about the day from one of the gals who attended here .... Thanks Gail!!!

Working with wool on cotton is a fun way to play with design. When most people hear the word "Embellish", glitz and bling likely come to mind, but that is not what we were doing, We were building layers of texture, just doodling with stitches to enhance the basic design. This technique could be done with any design....for those who love the look of applique but perhaps don't want to do all the prep work to turn under raw edges, this is perfect. Cut the shapes, whip stitch in place and you are ready to add the magic, one stitch at a time.


While I was able to coax mostly everyone in for a group photo, I regret not getting close up photos of each of the pieces in progress...it was amazing to see how different each looked, even though all started with the same basic design, and fabric selections. Thank you for a wonderful day ladies..... I can hardly wait to see the end results.


Wednesday, September 18, 2013

Still Playing with Wool.


I have been spending time layering stitches on wool. Feels like I am doodling, but with thread.


Monday, September 9, 2013

Wool

Wool............first I dyed some,


Then the embellishing began.


Friday, August 23, 2013

Wool and Cotton

In a post a couple of months ago, I showed some quilting I was doing using wool batt.

2 looks in one......this is the back view

What I did not share, was that this was part of a project I was doing while preparing an article for the Canadian Quilter.   It is a quarterly publication, this is the 9th article/design that I have created in my role as Artist in Residence for the Canadian Quilters' Association

In the Autumn issue, which is now out, I provide directions for working with cotton and wool to create a cushion that could be made from leftovers to co-ordinate with a quilt

It started with charm squares


I cut lots of circles from wool and stitched a variety of  "pennies" that could be added to the cotton.


Pretty simple, easy and fun way to use charm squares and leftover bits.

this is the front view

I am currently preparing the article for the Winter issue........summer is going by far, FAR too quickly


Copyright Jill Buckley